Professional Car Window Tint Removal: Expert Tips for Perfect Results
Success in removing a car window tint lies in preparation. The proper initial steps, like ensuring a clean interior, will give your work area the best condition for an efficient tint removal process. However, one thing folks often overlook is that this cleaning should be comprehensive to prevent any small dirt or debris from meddling with the operation. In this blog post, we will be discussing the professional car window tint removal process.
Professional car window tint removal requires the right tools and techniques. A heat gun or hairdryer can soften the tint, making it easier to peel off with a razor blade or utility knife. It's essential to remove any adhesive residue using a soapy water solution and to thoroughly clean the window afterward with a cleaning solution. If in doubt, it's advisable to seek professional car window tint removal services.
Preparing Your Car for Tint Removal
Before beginning the tint removal process, preparing your vehicle is crucial. Here are some vital factors to consider when ensuring a smooth and effective tint removal experience.
Thorough Interior Cleaning
Take time to thoroughly clean the interior of your car to prevent any dirt or debris from interfering with the tint removal process. Start by removing all loose items from the interior, including personal belongings, floor mats, and any other removable accessories. Vacuum the interior to eliminate any loose debris and particles that might interfere with the tint removal process. Pay special attention to areas around the windows where residue might accumulate.
In addition to vacuuming, consider wiping down the surfaces with a gentle cleaning solution to ensure that no stubborn dirt or grime remains. This will facilitate a smoother removal process and prevent any residual contaminants from hindering the installation of new tint.
Ensuring Proper Ventilation
Proper ventilation is essential during the tint removal process, especially if using chemicals or employing heating methods for faster removal. Roll down the windows or park the vehicle in a properly ventilated area to mitigate exposure to fumes or chemical odors inside the car. This not only ensures a safe and healthy working environment but also aids in hastening the drying process after completing the removal procedure.
Adequate ventilation assists in dispersing chemical odors effectively, safeguarding against potential irritants from lingering within the interior after the completion of the tint removal.
Protecting the Interior
Covering the interior surfaces of your car with plastic or drop cloths is crucial to prevent any accidental damage resulting from the tint removal process. The use of protective coverings is especially important when utilizing chemical-based solvents or wielding sharp tools during the removal process.
Prioritize safeguarding your vehicle's interior upholstery, dashboard, and other surfaces susceptible to damage by carefully adhering plastic sheets or drop cloths. This additional layer of protection guarantees that your vehicle's interior remains unscathed during the vigorous tint removal procedure.
Identifying the Tint Film Type
Understanding the type of window tint film installed on your car is crucial for a successful removal process. There are generally three main types of window tint films: dyed, metalized, and ceramic films.
Dyed Films
These window tint films are renowned for their ability to absorb solar heat and reduce glare. They contain a colored layer that creates a shading effect, making them quite popular among consumers. However, they tend to fade over time due to exposure to ultraviolet (UV) rays, which may complicate the removal process.
Metalized Films
In contrast, metalized window tints have tiny metallic particles embedded within the film, providing enhanced heat rejection and UV protection. Their durability makes them resistant to fading; however, they can interfere with electronic devices such as GPS or radio signals.
Ceramic Films
Ceramic films incorporate advanced nanoparticle technology to reject heat and sun rays without employing dyes or metal layers. These films are known for their exceptional clarity, UV protection, and superior heat resistance properties.
Once you've identified the type of tint film on your vehicle's windows, you can make an informed decision about how to remove it effectively without damaging the glass or defroster lines. Heat is commonly utilized in the removal process, but different types of films respond differently to heat applications.
For example, dyed films are more vulnerable to damage from excessive heat levels during removal. On the other hand, metalized and ceramic films have a higher tolerance for heat, which allows for relatively easier removal procedures that involve the use of moderate heat applications.
So, if you're thinking of removing the tint yourself, knowing what kind of film you're dealing with will help you determine essential factors such as equipment needed, temperature settings for heat application, and duration required for safe and efficient removal.
Proper identification of the tint film type ensures that appropriate removal methods are utilized to yield perfect results while preventing potential damage to your car's windows and saving you time and effort in the long run.
Assembling Necessary Tools and Equipment
Removing window tint might seem daunting, but with the right tools, it becomes much more manageable. The following equipment is essential for a smooth and efficient tint removal process.
Heat Gun or Hairdryer
Whether you're using a heat gun or a hairdryer, the primary purpose is to soften the adhesive underneath the tint film. This makes the tint easier to remove without damaging the glass underneath. Keep in mind that a hairdryer may take longer to warm up the adhesive compared to a heat gun.
Razor Blade or Utility Knife
Once the adhesive has been softened, you'll need a razor blade or a utility knife to carefully peel off the tint film from the glass. It's important to be gentle and patient during this step to avoid any damage to the glass.
It's similar to carefully peeling off a stubborn sticker from a surface; you don't want to leave any residue behind.
Cleaning Solution
After successfully peeling off the tint film, there might be remnants of adhesive stuck on the window. A cleaning solution will come in handy to remove any leftover residue, ensuring that your windows are perfectly clean and free from any sticky remnants.
These three items are crucial for executing an effective tint removal process for car windows. Attention to detail, patience, and utilizing these tools correctly contribute greatly to achieving perfect results.
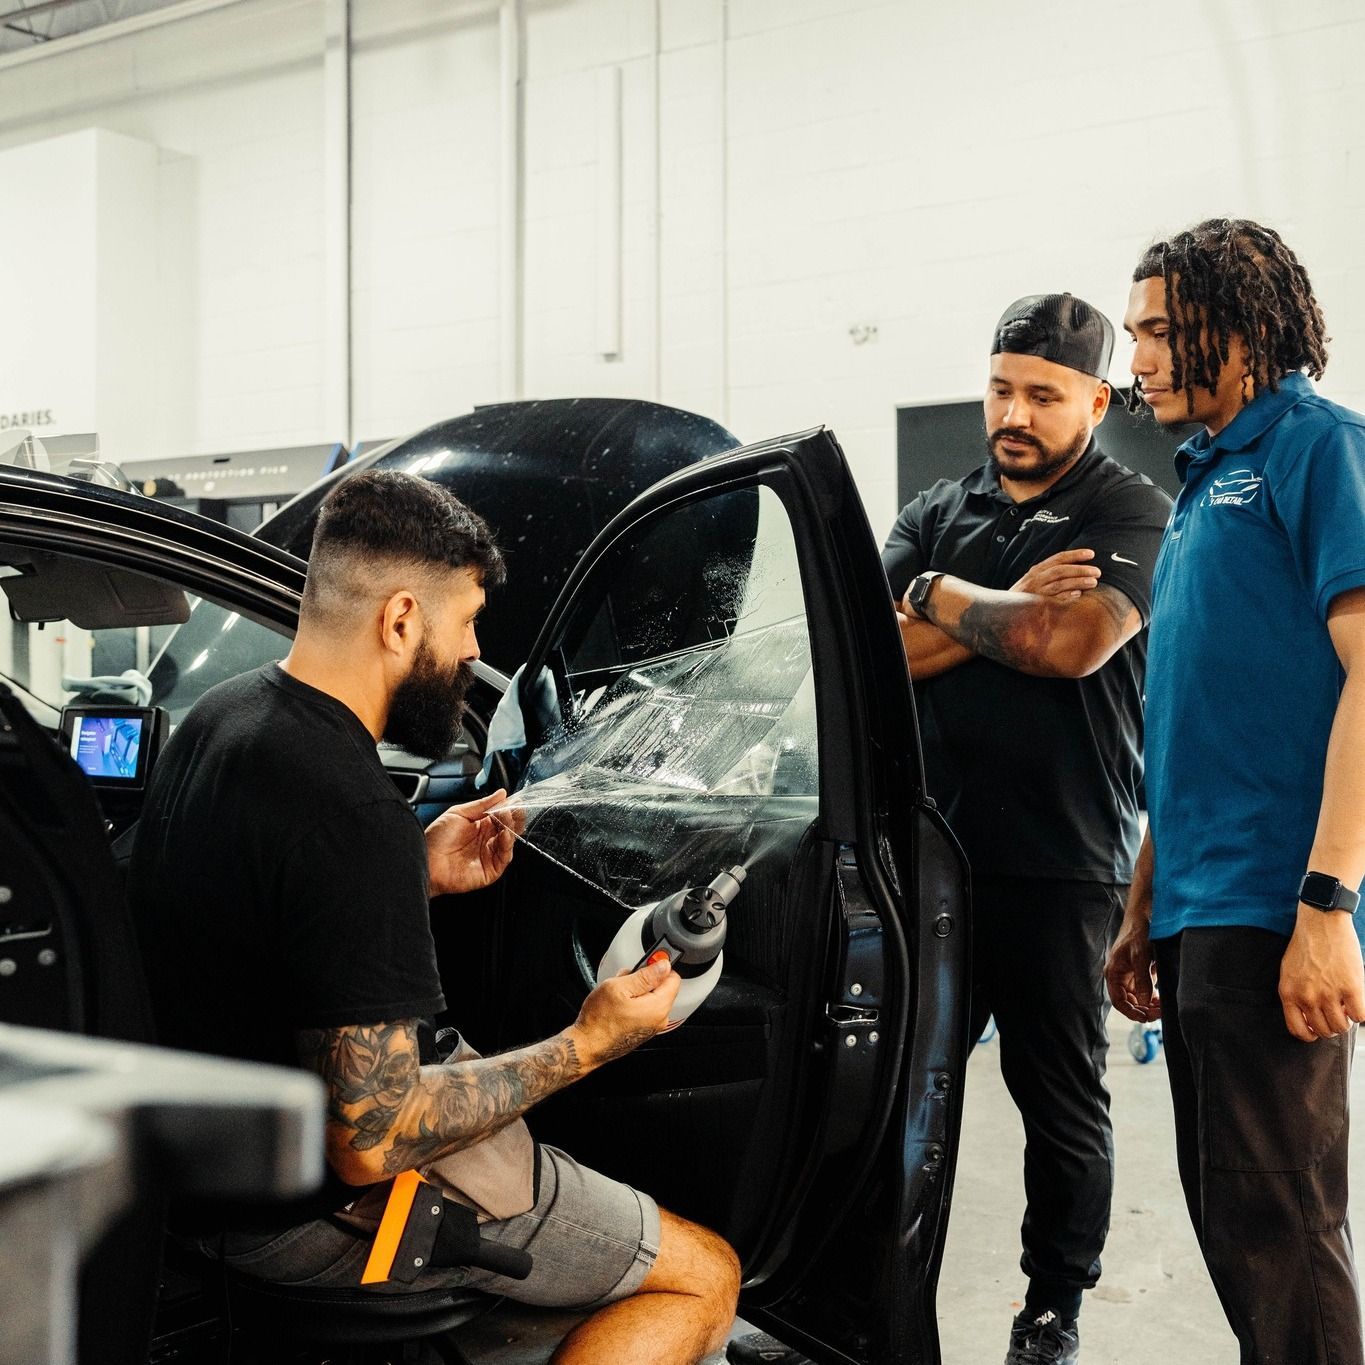
The Professional Tint Removal Process
Professional car window tint removal is a meticulous and skilled process that employs industry-grade tools and techniques to ensure perfect results. But what exactly does this process involve?
Using Industry-Grade Tools
When we talk about specialized tools, we're not referring to just any ordinary equipment. These tools are specifically designed to handle window tint removal effectively and without causing any damage to the glass or defroster lines. A professional-grade steamer is utilized to apply heat evenly across the tinted area, softening the adhesive and holding the film in place.
Application of Heat
The precise application of heat is crucial during this process. It is carefully applied to the tint film, softening the adhesive layer beneath. This serves a dual purpose; first, it makes it easier to peel off the film without tearing or leaving behind adhesive residue, and second, it prevents any damage to the glass.
It’s important to understand that professionals have honed their skills to determine exactly how much heat should be used for each specific type of window tint and each removal scenario. Too much heat can harm the glass, while too little can make removing the film challenging. Hence, professional expertise ensures precise temperature control for seamless tint removal.
The combination of top-notch industry tools with expert handling and application of heat ensures that the tint removal process achieves perfect results without compromising the quality of your vehicle's windows.
Protecting Your Car During Removal
During the process of removing window tint from your car, protecting various parts of your vehicle from potential damage is a top priority. The interior of your car, in particular, needs to be safe from any harmful chemicals or accidental scratches.
The professionals undertaking the tint removal process will generally utilize protective coverings to shield the interior surfaces of your car. These protective covers play a crucial role in ensuring the safety of your upholstery, dashboard, and other interior materials. They help guard against accidental spills or exposure to liquids that are part of the tint removal process.
Moreover, these protective coverings prevent any sharp tools or equipment used during the removal from coming into contact with and potentially damaging the surfaces they're meant to protect. In this way, it ensures that all parts of your car remain immaculate and unscathed throughout the entire procedure.
If you're considering DIY tint removal, it's essential to source similar protective coverings to ensure that no part of your car's interior faces any risk during the process. Always remember that a little precaution goes a long way in preserving the pristine condition of your vehicle.
When opting for professional tint removal services, inquire about the extent of protective measures they undertake and ensure that they prioritize safeguarding your car's interior.
Remember, even minor damages incurred during window tint removal can be costly to fix. Choosing professionals who acknowledge and implement protective measures demonstrates their commitment to preserving not just your tint but also your vehicle's integrity.
Windows Tint Removal: Entrust an Experienced Professional
For optimal results and to avoid potential damage to the car’s windows, it's advisable to entrust the tint removal job to experienced professionals. Skilled professionals have the expertise to execute the task with precision, ensuring optimal results while safeguarding your car’s windows from potential damage—a critical aspect considering the fragility of car windows and the complexities of tint removal.
The exact formulation and application process used during the tint installation can make its removal a challenging job. Professionals are equipped with specialized tools and techniques to tackle different types of tints effectively, minimizing the risk of costly window damage that can result from amateur handling.
It's imperative to prioritize safety during the tint removal process. Using protective gear such as gloves and safety goggles shields you from harmful chemicals present in certain adhesive removers. Additionally, working in a well-ventilated area helps mitigate exposure to fumes and airborne particles, ensuring a safe and healthy working environment.
Ammonia-based adhesive removers, commonly used in the tint removal process, can produce strong fumes, which can be hazardous if inhaled. A well-ventilated area mitigates these risks by facilitating proper air circulation.
For professional assistance with car window tint removal and other automotive detailing services, contact Chicago Auto Pros at 630-474-9263.
Share with your friends
We Make Your Car Look Beautiful
Founded with an unquenchable desire for automotive perfection, Chicago Auto Pros is a leader in paint protection efforts and aesthetic vehicle detailing services in Chicago, Illinois. When you bring your automobile to our Chicago-based detailing shop, you are sure to experience unmatched integrity, customer service excellence, and above all, absolute automotive perfection from the inside out. Choose the right auto detailing team - choose Chicago Auto Pros!
Lombard Location
207a Eisenhower Ln S, Lombard, IL, United States
Glenview Location
2075 Johns Ct, Glenview, IL, 60025, United States
Additional Service Areas
Tesla & EV Detail Specialists
Services Offered
Quick Links
Proudly written and crafted by the team at Detailers Roadmap,a platform developed for detailing operations across the globe.